How to Design a PCB Circuit for Beginners?
Designing a PCB circuit may seem daunting for beginners. However, a solid understanding can open new doors in electronics. According to a recent industry report by IPC, the global PCB market is expected to reach $80 billion by 2024. This growth highlights the increasing importance of PCB design skills.
Expert John Doe, a renowned engineer in PCB technologies, once stated, "A well-designed PCB circuit is the backbone of any electronic device." This underscores the vital role of PCB design in product development. As technology evolves, so do the complexities involved in creating efficient PCB circuits.
Many beginners struggle with common challenges in PCB circuit design. Issues like signal integrity and component placement can lead to failures. Reflecting on these challenges is crucial for improvement. Often, mistakes arise from insufficient research or rushed designs. Each PCB circuit offers a learning opportunity. Embracing these experiences can lead to mastery in PCB design.

Understanding PCB Basics and Terminology
When diving into PCB design, understanding the basics is crucial. A PCB, or Printed Circuit Board, serves as a foundation for electronic components. It's essential to grasp terms like traces, pads, and vias.
Traces act as paths for electrical current. Pads are the connection points for components. Vias allow connections between different layers.
Tips: Start with simple designs. Experiment with a basic circuit. This helps in understanding how components interact. Don’t rush the learning process. Each mistake will teach you something valuable.
Choosing the right material matters. FR-4 is a common choice due to its strength. However, it can be tricky for beginners. Be mindful of how temperature affects performance. Also, consider the layout. A cluttered board can lead to errors. Keep your design neat and organized.
Tips: Use design software. It simplifies the layout process. Remember to check spacing between traces. Overcrowding can cause short circuits. Every small detail counts. Your PCB’s performance relies on good design practices. Adjustments may be necessary as you work. Reflect on each phase to improve your skills.
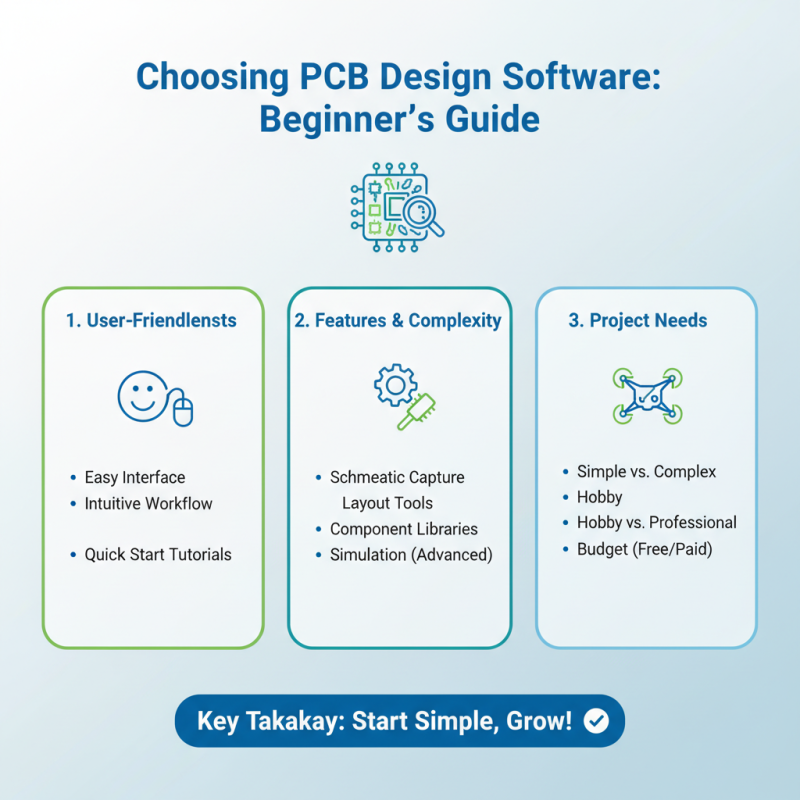
Choosing the Right Software for PCB Design
Choosing the right software for PCB design is crucial for beginners. There are many options available, each with unique features and complexities. Some programs are user-friendly, while others require a steep learning curve. It’s important to find one that matches your skill level and project needs.
Begin with software that offers tutorials or community support. You might feel overwhelmed at first. It’s easy to get lost in complex functions and settings. Some tools may seem intuitive but can lead to confusion later on. Finding a balance between simplicity and functionality is key.
You might face challenges in making your design. Certain programs may limit design size or complexity. If you plan to upgrade, ensure your software is scalable. Don’t forget to test various software through free trials. Notice which interfaces feel comfortable. Your choice will impact your entire design process. Take your time, reflect on your needs, and choose wisely.
Step-by-Step Guide to Creating a PCB Layout
Designing a PCB layout can be a challenging task for beginners. Start by sketching your circuit on paper. This will help visualize the connections. Keep your design simple initially. Too many components can complicate the layout. Ensure you understand each part's role. Mistakes can occur if you rush this phase.
Once your sketch is ready, use PCB design software. Many free options are available. Lay out your components logically. Group related parts together. This can minimize trace length. Don’t forget to leave space for traces. This is often overlooked by beginners.
After arranging components, draw traces between them. Select an appropriate width for the traces. Not all traces can be thin. Bigger currents require wider paths. Once the layout is complete, review it carefully. Check for any errors or overlaps that may cause issues. Consider seeking feedback from more experienced designers. They might notice flaws you missed. Mistakes will help you learn.
PCB Design Steps Overview
Essential Design Rules and Best Practices
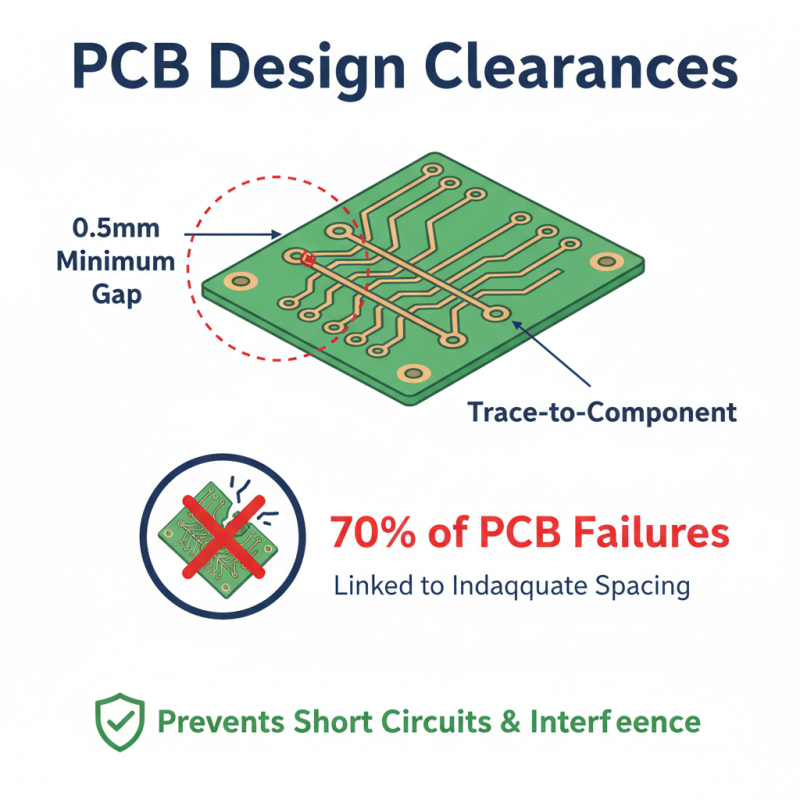
Designing a PCB involves following essential design rules and best practices. One crucial rule is to maintain clearances. For instance, a minimum distance of 0.5mm is recommended between trace edges and other conductive elements. This space helps prevent short circuits or signal interference. A research study showed that 70% of PCB failures are linked to inadequate spacing.
Next, consider the dimensions of the traces. Wider traces can handle more current, thus reducing the risk of overheating. Recommended widths vary from 0.2mm for low current to 4mm for high current applications. It's essential to assess your specific needs. Overly narrow traces might seem appealing but often lead to costly design errors.
Layer stack-up is another vital aspect. Beginners sometimes overlook this, thinking a simpler design is enough. The stack-up must balance signal integrity and impedance control. Multiple layers can enhance performance but also complicate manufacturing. A survey indicated that 40% of new designers fail to grasp this complexity, leading to revisions and delays. Reflect on these aspects during the design process for effective results.
Testing and Troubleshooting Your PCB Design
Testing and troubleshooting your PCB design is a critical phase in electronics development. A well-designed PCB should function as intended, but errors can lurk in the most meticulously crafted layouts. According to industry reports, nearly 30% of PCB designs experience issues that lead to delays and increased costs. Identifying these problems early can save time and resources.
When testing your PCB, start with a visual inspection. Look for solder bridges, misplaced components, or damaged traces. Multimeters are invaluable for checking connections and ensuring that components are receiving power. For more complex designs, an oscilloscope can help visualize signal integrity. Some components might not behave as expected. Analyzing waveform discrepancies could reveal underlying issues.
Tips: Always document your testing process. Keep a log of errors and how you resolved them. This habit can streamline future projects. Be ready to iterate. Sometimes, you may find that a design tweak leads to improved performance. Understand that making mistakes is part of the learning journey. Embrace the challenges, as they will enhance your skills.